 Add Row
  Add
Add 


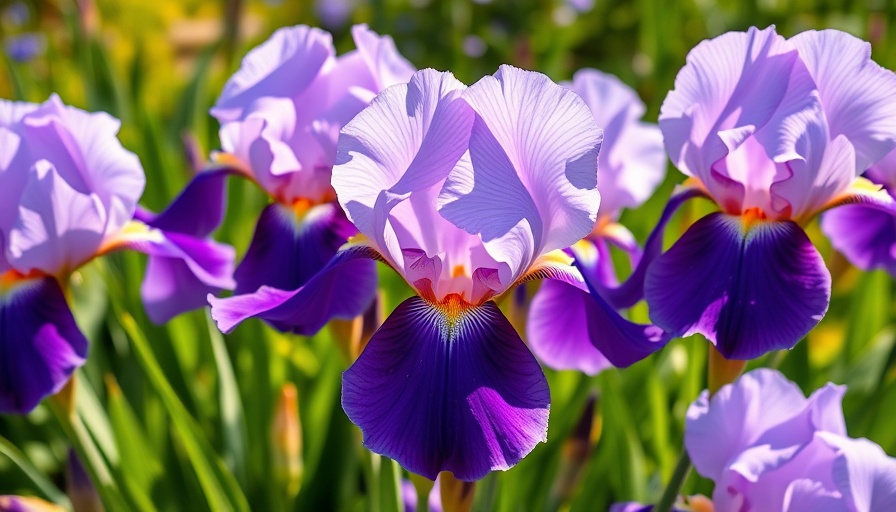
Revive Your Garden: The Art of Dividing and Transplanting Irises
Named after the Greek goddess of the rainbow, irises are not only beautiful perennials, but they also bring a sweet floral scent to your garden. Known for their vibrant shades and elegant stature, these flowers can become overcrowded over time. When the roots become too packed, the health and vigor of the plants can decline—leading to fewer blooms and less greenery.
To keep your irises flourishing, proper care and timely intervention are essential. Regularly lifting and dividing clumps every three to four years not only rejuvenates the plants but also allows you to expand your garden with new rhizomes.
When Is the Best Time to Divide Your Irises?
Timing is crucial when it comes to dividing irises. The ideal period for lifting and transplanting these beauties is post-bloom, during their dormant phase in the summer. Specifically, you should wait six to eight weeks post-flowering or schedule the work for midsummer to early fall.
Start by offering your plants some summer pampering: prune away any spent flower stalks, prepping them for their upcoming dormancy. Pull aside a few top layers of soil to ensure that the rhizomes are close to the surface, making removal more accessible without soaking the ground.
How to Successfully Lift and Divide Your Iris Clumps
To lift your irises, utilize a garden fork or spade. Carefully dig around the clump, penetrating the soil along the dripline—three to four inches outside of the visible rhizomes. Loosen the soil all around before attempting to lift. If it's too large to come out in one go, opt for a clean, sharp spade to separate it into more manageable pieces.
Once you've detached the iris clump, gently clean the rhizomes. Using a soft-bristle brush, you can get rid of soil and debris while taking care not to harm the roots. This not only simplifies the dividing process but also makes it easier to spot any pests.
Inspecting Your Irises: A Vital Step
When you’ve cleaned up your rhizomes, it’s time to inspect them closely. Remove any sections that lack leaf fans or are aged and brittle. For a successful transplant, ensure that each section you keep has active root growth and is free from disease or damage.
Trimming and Replanting: Ensuring a Smooth Transition
With healthy rhizomes selected, proceed to trim them. The remaining parts should be robust and attached to a leaf fan. When replanting, it’s advisable to position the rhizomes at or just below the soil surface, ensuring they have enough room to thrive without overburdening their neighbors.
Container Considerations: Choosing the Right Home for Your Irises
If you plan to transplant your lifted irises into pots or raised beds, consider the containers thoughtfully. Ensure they are substantial enough to allow for root growth and have drainage holes to prevent soggy rhizomes. A good potting mix enriched with compost can support the irises in their new environment.
Looking Ahead: The Future of Your Iris Garden
As your irises take root, they will not only enhance the beauty of your garden but also promote biodiversity by attracting pollinators like bees and butterflies. Implementing sustainable gardening practices—such as regularly checking for pests and investing in organic gardening solutions—will keep your irises healthy while furthering the overall health of your garden.
Embrace your gardening journey by sharing this flower’s unique beauty and characteristics with loved ones. The art of lifting, dividing, and transplanting irises invites you to stay connected with nature and enjoy the lush rewards of your labor.
Grab your garden tools; it’s time to uplift your iris plants!


Write A Comment