 Add Row
  Add
Add 


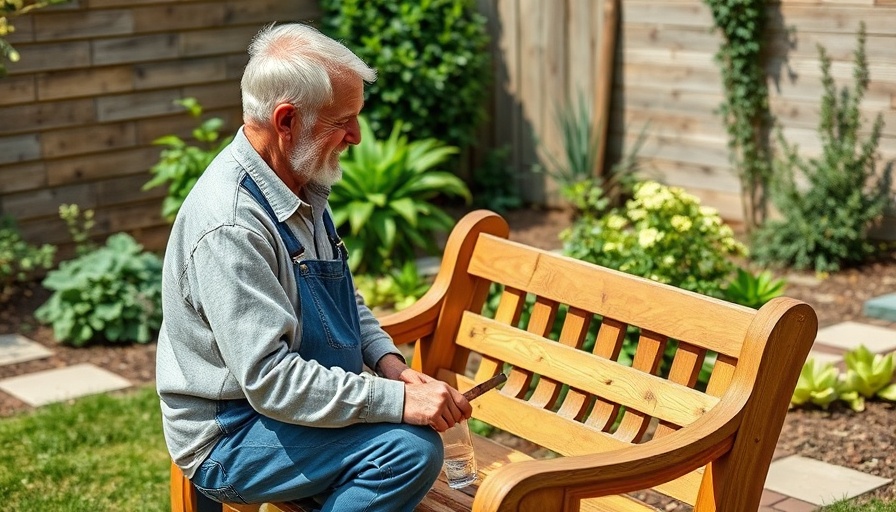
Reviving a Classic: Garden Bench Restoration Made Simple
In the heart of our backyards, garden benches stand as quiet witnesses to our lives—sharing moments of laughter, solitude, and repose. Yet, over the years, even the sturdiest of benches can succumb to the elements. If you're staring at a tired and weathered garden bench, scared that it might be time to say goodbye, think again! Let’s explore how to breathe new life into this beloved outdoor fixture through a quick and easy restoration.
In 'Quick & Easy Garden Bench Restoration,' the discussion dives into practical DIY techniques to refresh garden décor, exploring key insights that sparked deeper analysis on our end.
Scraping Away the Past
The first step to revitalize a garden bench starts with removing the old paint. As shown in the recent DIY video on bench restoration, using a scraper can significantly ease this process. Most of the paint flakes off easily, revealing the underlying wood underneath. This act of scraping is more than just cosmetic; it's a necessary precursor to sanding, which smooths out any rough spots and prepares the bench for its new look.
The Power of Sanding: Smooth Surfaces for a Lasting Finish
Once the paint is off, moving on to sanding is crucial. This not only removes the remaining paint but also revitalizes the wood’s natural texture. Consider it a spa day for your bench! Sanding makes the wood surface smoother, ensuring the paint adheres well and lasts. After all, a beautiful finish deserves a solid foundation.
Replacing Old Slats: A Fit for Life
Often, benches will have broken slats. The video demonstrates how to use a well-defined template to cut new ones from sturdy hardwood, ensuring they match the dimensions of the originals. It’s a practical, sustainable choice that prolongs the life of your bench while matching its original design.
Bracing for Quality: Reinforcing Your Bench
To guarantee that the bench can withstand years of use, installing a bracing system is vital. The discussion emphasizes how bracing not only prevents wobbling but reaffirms the structural integrity of your restoration. After all, the goal is to ensure that this bench becomes a dependable feature in your garden for another 20 years!
Choosing the Right Finish: Color and Protection
Next, one should carefully consider the finish. Utilizing a water-based oil not only adds a beautiful sheen but it also dries quickly and cleans up effortlessly. This resonates well with busy homeowners who want both aesthetic appeal and functionality.
The Final Touch: A Beautiful Space Awaits
After completing these steps, the bench stands proudly, ready to once again serve as the heart of the garden. It’s the little moments spent on a newly restored bench—a place for sipping tea or storytelling with friends—that make such projects worthwhile.
Why Invest in Garden Upkeep?
Garden benches are more than mere conveniences; they represent our connection to nature and the quieter moments that help ground our busy lives. Beyond a simple restoration, taking care of your outdoor spaces shows a commitment to sustainability and environmental health. Engaging in activities like planting flowers or designing vegetable gardens makes our surroundings more beautiful while fostering a sense of community and engagement with nature.
Take Action Today: Start Your Restoration Journey
Inspired to dive into your own garden restoration? Grab your gardening tools and start dreaming about the memories you’ll create around your bench. Imagine the flowers you’ll plant around it or the vegetable patches that could complement your newly restored seating. Remember, every small effort counts, and your garden can be a place of beauty and relaxation for yourself and your community.


Write A Comment