 Add Row
  Add
Add 


Creating Your Dream Closet: A Guide to Building Custom Cabinets
Have you ever looked at your chaotic closet and wished you could transform it into a tidy, functioning space? Join me as I share my journey of building custom closet cabinets—starting with my own unique challenges and successes!
Revisiting My Closet: Assessing the Need for Organization
Every home deserves a well-organized closet, a space that not only serves functional purposes but also reflects your personal style. My closet was in dire need of attention—it was cluttered and poorly designed, with no dedicated storage solutions. After moving into my new home, I decided to tackle this project first. A functional closet is essential for a serene living space, and it can enhance your home's value.
Preparing for the Build: Tools and Strategies
Building closet cabinets may sound daunting, but having the right tools simplifies the process. For my project, I utilized a 16-gauge nail gun, table saw, and a methodical approach to building each cabinet unit. Keep in mind, it’s crucial to measure accurately—one miscalculation can set you back, as I learned when I misjudged the size of my backer boards.
As I fashioned the first components, I discovered that my 16-gauge nail gun had let me down. A quick trip to Home Depot remedied that, but it reminded me of the importance of being prepared for minor setbacks. Building furniture is part craft, part patience, and overcoming these small hurdles can foster greater confidence.
Step-by-Step Construction: Avoiding Common Mistakes
Each closet cabinet unit I built had critical steps—starting with forming the sides, tops, and bottoms of the units. As I pieced together the initial structures, I quickly learned that each layer of construction needs careful planning and adjustment for imperfections like bowed plywood or unlevel floors. A quick fix was to use spacers cut from scrap lumber to ensure everything remained square and stable.
I also experimented with creative solutions when faced with leftover materials. For example, cutting strips of lumber allowed me to correctly fit the backer boards and avoid purchasing additional plywood, saving both time and money.Reflecting on Unique Solutions for Your Closet Space
One of the lessons I've come to appreciate is that no closet project is the same. Each person's requirements may vary, whether you prefer hanging spaces, drawer units, or open shelving. In my process, I integrated drawers and adjustable shelves in a way that best suited my personal style. This modular design ensures that my closet can adapt to changing needs.
For anyone considering a similar project, remember to embrace a flexible mindset. If a plan doesn’t work, pivot! Whether adapting dimensions to meet your space or selecting finishes that fit your aesthetic, creativity is as important as accuracy.
Completing the Vision: Installing and Final Touches
After assembling the cabinets, the final step was installation. I made sure to use a level during the process to mitigate any potential for future issues. Attaching the cabinets securely to wall studs ensured durability as they filled up with clothing and accessories over time.
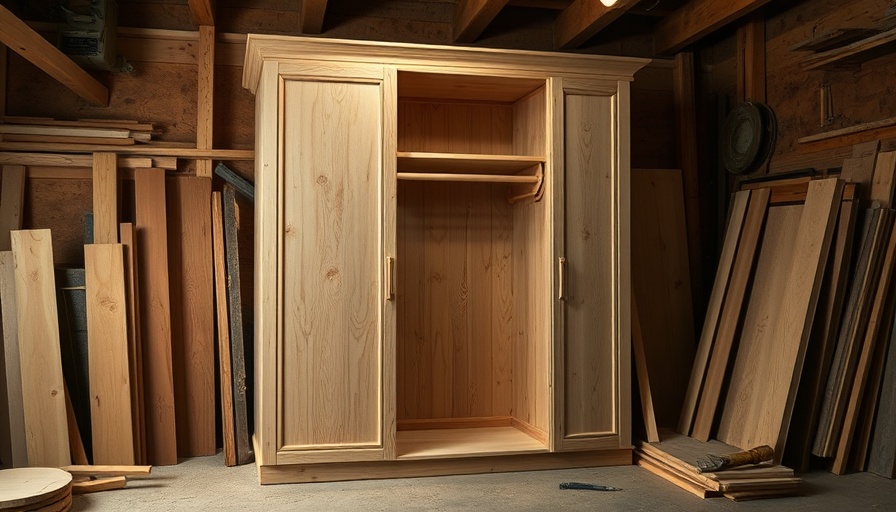
As I stepped back to admire my work, the transformation was rewarding. Not only did I gain more space, but I also created an area that is much more visually appealing. I plan to finish the cabinets at a later date, but for now, their raw look is a reminder of my hard work.
Your Closet, Your Way: Final Thoughts on Transforming Space
Listening to your space and making decisions based on your lifestyle is key. I hope my journey inspires you to take the plunge into your DIY project. Creating custom cabinets can feel overwhelming, but with each step, you’ll form a clearer picture of how you want to utilize your area.
Have a story to share about your most recent DIY project? Or feel stuck and need advice? Share your thoughts below, and join me in celebrating the joys of home improvement!
Happy building, friends!


Write A Comment