 Add Row
  Add
Add 


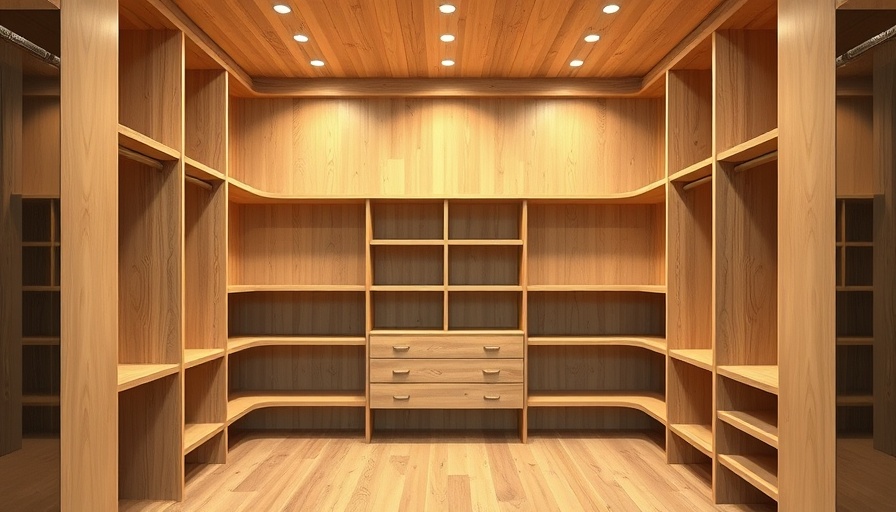
Transforming Spaces: My Walk-In Closet Journey
The quest for a dream walk-in closet is an adventure many homeowners embark upon. As I reached the three-week milestone in my closet and laundry room makeover, I learned firsthand that where the labor is intense, the reward is thrilling. Perhaps the most exhaustive work was sanding down cabinets to prepare for the finish that, albeit time-consuming, is crucial for a stunning outcome.
The Importance of Prepping for Perfection
This week was all about the tedious process of sanding cabinets and floors. With each sand of my orbital sander, I felt a mix of frustration from the progress that seemed slow and satisfaction knowing that each stroke brought my dream closet one step closer to reality.
Sanding is not just about preparing wood for paint—it’s about ensuring that every surface is smooth, free of imperfections, and ready for the loving finish that will breathe life into the closet. I ventured into this step intentionally without the shopvac attached to my sander to speed things along, knowing that I could live with a mix of dust for a day, especially with the windows wide open to let the fresh air in. This day of work was a reminder that while patience is undeniably important, sometimes you need to make sacrifices for speed.
Caulk and Prime: The Essential Steps
With the cabinets sanded, the next stage involves caulking. Coating nail holes and joints with caulk might be my least favorite part of any project, yet skipping it would mean compromising the sleek finish I desire. Once caulked, I will prime everything, ensuring the cabinets are ready for their transformation. This layer of primer acts not only as a base for paint but also enhances the durability of the finished product.
Flooring Decisions and Visualizer Tools
As I reflected on my progress, I also pondered flooring options. This is where tools like the Bona Flooring Visualizer come into play, allowing homeowners to visualize different flooring choices on photos of their specific spaces. From rich oak finishes to contemporary gray tones, the right flooring can unify a room and elevate the overall aesthetic. Using such visual aids can help narrow down the plethora of choices, ensuring that I don’t just settle for a floor but invest in something that adds value and warmth to my new closet.
Cleaning Up and Moving Forward
After hours of work, one might think the task was finished but there’s always the cleanup. Cleaning dust from the air and surfaces is a job that I completed at the end of that long sanding day. While the dust seems like a nuisance, it’s a small price to pay for progress. A tidy worksite can uplift spirits and keep productivity on pace for the busy days ahead as I transition into the painting and organizing stages.
The Journey Ahead: Predictions and Aspirations
Looking ahead, I know that the next few weeks will involve applying color, tackling the hardware installation, and figuring out how I’ll organize the space once it’s done. I anticipate this strong vision will soon evolve into reality—what was once just a dream will soon be a functional area filled with personality.
For those on similar DIY journeys, remember that the labor-intensive moments often yield the most beautiful rewards. Entire transformations are about passion, perseverance, and perhaps a fair amount of cleanup!
Conclusion: Your Turn to Shine
As I inch closer to the finish line of my closet project, I invite fellow DIY enthusiasts to embark on their journeys. Whether it’s revamping a tired space or dreaming up a new layout, embrace the process with patience and passion. Share your transformations and experiences, and let’s inspire each other as we work toward cultivating our dream homes!


Write A Comment