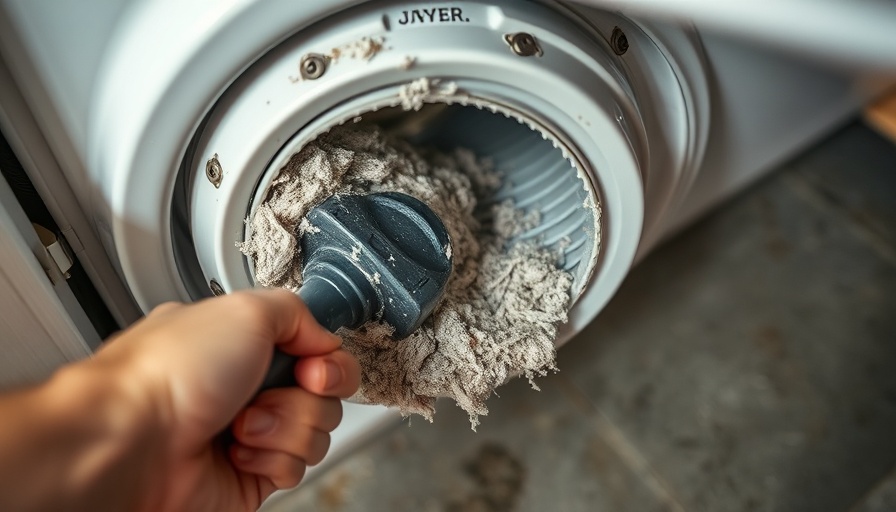
Is Your Dryer Taking Too Long? It Might Be Time for a Cleaning!
Have you noticed that your laundry is taking an eternity to dry? While it can be frustrating, the culprit might be simpler than you think—a clogged dryer vent. Cleaning out your dryer vent not only speeds up your laundry process, but it also promotes better air quality in your home and decreases the risk of fire hazards. Consider this your comprehensive guide to tackling this common household chore efficiently!
In 'Unclog your dryer vent with this easy fix,' the discussion dives into the essential steps for maintaining your dryer, exploring key insights that sparked deeper analysis on our end.
Understanding the Importance of Dryer Vent Cleaning
According to the U.S. Fire Administration, failure to clean dryer vents is one of the leading causes of home fires. Lint accumulation can block the vent, forcing your dryer to work harder and longer, using more energy while yielding little results. Not only does this take a toll on your electricity bill, but it can also wear down your dryer. Regular maintenance is key to prolonging the life of your appliance.
What You’ll Need for the Job
Equipping yourself with the right tools makes the job easier and more effective. A dryer vent cleaning kit, such as the one from Lowe’s, will usually include a variety of brushes and rods that extend into the vent to help dislodge and clear any built-up lint. Additionally, a vacuum with a narrow nozzle can help collect loose debris from both the dryer and its venting path.
A Step-by-Step Guide to Clean Your Dryer Vent
Cleaning your dryer vent isn’t as intimidating as it sounds. Here’s a simple step-by-step process:
- Unplug Your Dryer: Safety first! Unplug your dryer from the outlet to ensure that there’s no power during the cleaning process.
- Move the Dryer Away From the Wall: Gently reposition the dryer to access the vent hose at the back.
- Disconnect the Vent Hose: Carefully remove the vent hose, taking caution not to damage it.
- Use the Cleaning Kit: Insert the brush into the vent, making sure to scrub thoroughly to clear any lint buildup. Use an extension if necessary.
- Inspect the Exit Vent: Ensure that the vent outside is clear as well, as this is the point where heat and moisture exit your home.
- Reconnect Everything: Once satisfied with your cleaning, reconnect the hose and slide your dryer back into place before plugging it in.
- Run a Test Load: Make sure to test the dryer with a small load to check for proper airflow.
Common Misconceptions About Dryer Vents
A prevalent myth about dryer vents is that they don’t require regular cleaning if the laundry isn’t overly full of lint. However, even a small load can generate lint, and over time, this accumulates and obstructs airflow. Therefore, it is wise to adopt a regular cleaning schedule—aim for at least once a year, or more frequently if you have a larger household.
Signs It’s Time to Clean Your Vent
Be on the lookout for these warning signs that indicate it’s time to clean your dryer vent:
- Your clothes take longer than normal to dry.
- The dryer feels unusually hot to the touch.
- Your laundry room has a musty smell or visible lint buildup.
- There’s excess lint on your dryer’s lint trap.
Making It a Habit
Incorporating dryer vent cleaning into your home maintenance routine is instrumental for not just efficiency, but safety as well. Pair this task with other home improvement jobs, like bathroom remodels or kitchen updates, to maximize your home’s functionality. Setting reminders in your calendar can help keep you on track.
In conclusion, understanding how to clean your dryer vent is a small but significant step toward a safer home. While it may seem trivial, maintaining your dryer can save you time, money, and potential hazards. So grab that cleaning kit, roll up your sleeves, and give your dryer the care it deserves!
 Add Row
  Add
Add 


Write A Comment