 Add Row
  Add
Add 


Creating a Dream Walk-in Closet: A Personal Journey
Turning your home into a personal sanctuary often starts with organizing and optimizing your spaces. For many, the walk-in closet represents not just a storage area, but a reflection of personal style and practicality. As I delve into my own creating process, my walk-in closet project is serving as an exciting example of DIY creativity paired with thoughtful planning. This is not just for the home improvement enthusiast; it’s for anyone looking to enhance their living space effectively.
Embracing the Challenges of DIY
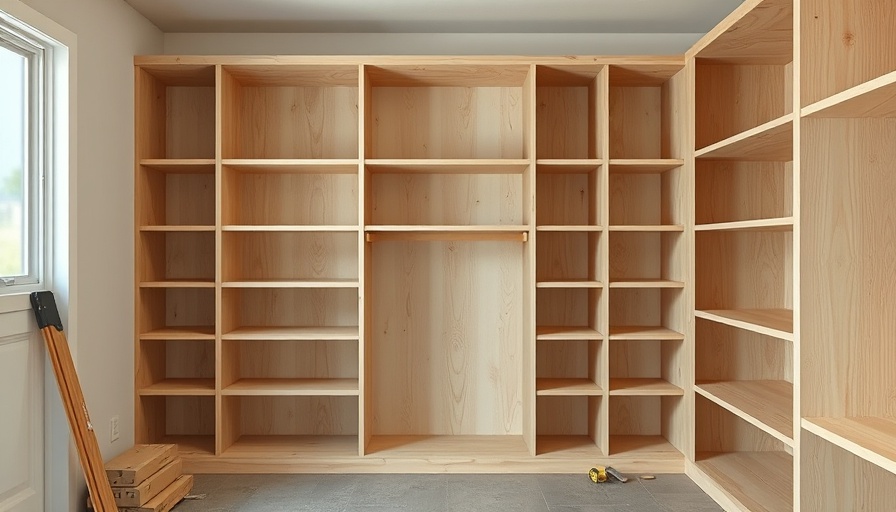
Progress has been steady as my walk-in closet begins to take shape. I spent the weekend cutting plywood for shelves, filling gaps, and sanding away, knowing there’s still more to come. The seemingly simplistic tasks of planning and building have revealed a greater appreciation for the intricacies involved in creating a well-functioning closet. Utilizing lesser grade plywood has been both a cost-saving measure and a learning experience. I’ve had to navigate the trials that arise during DIY projects, demonstrating that even in the early stages, patience and resilience are essential.
From Vision to Reality: The Planning Stage
An essential part of the process was planning and designing the layout. Initially, it required a proper assessment of the space and deciding how to make the most of its dimensions. Drawing mockups laid the framework for what was to come, transforming abstract ideas into tangible plans. For anyone embarking on a similar journey, taking the time to visualize your desired outcome can be the differentiator between a chaotic build and a well-structured project.
Building Components: The Foundation of Organization
With both cabinet boxes completed for various closet sections, the next step was to create supportive shelves designed to accommodate different items, like bags and folded clothes. Using 1″x2″ lumber stripped down to 3/4″ provided essential support for the shelves. The combination of function and creativity in this phase is crucial. Homeowners should consider integrating multifunctional pieces that not only fulfill their storage needs but also match their aesthetic preferences.
Timelines and the Value of Patient Craftsmanship
Creating a closet that accommodates your lifestyle isn't a race; it's a marathon. I've learned that the journey is often as rewarding as the result. Each action, from building cabinet boxes to adding shelves, has taught me about the upkeep and functionality that come with DIY projects. The act of placing every shelf contributes to the overall character of the space. It’s about layering functionality with personal expression.
Future Design Considerations
As I progress further into creating this space, I have started envisioning how the addition of trim and molding will enhance the closet's visual appeal. This has also led me to rethink my original designs based on feedback and suggestions, making the project a collaborative effort rather than a solo venture. Engaging with the community can foster deeper insights into what works best for different living spaces.
Tips for Aspiring DIY Enthusiasts
- Plan Your Space: Measure and visualize the layout before beginning. A mockup can save time and resources.
- Quality Over Cost: If budget is a concern, select materials wisely to prevent future costs in repairs.
- Patience is Key: Take your time with each step, from building to refinishing.
Your living space should reflect your personality and functionality needs. As I work through my project, each detail showcases a uniquely personal touch while aiming to blend practicality with beauty.
The DIY journey is often filled with small obstacles and big breakthroughs. I encourage you to embark on your own home improvement projects with enthusiasm and creativity. Let your spaces tell your stories, just as I intend for my closet to do. Your home remains a canvas to work on!
If you found the steps and insights in this article helpful, consider sharing your own DIY project ideas and experiences, or even suggest changes you would make to your own designs!


Write A Comment