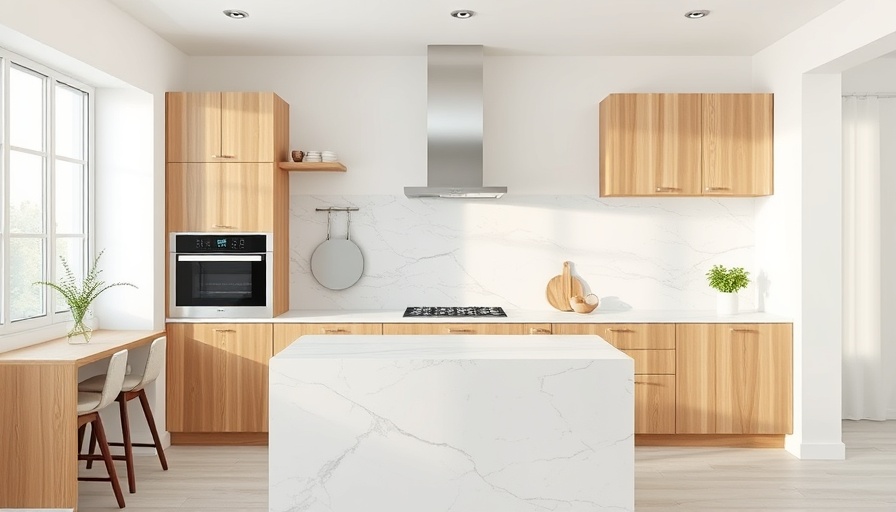
Transforming Your Kitchen: DIY Countertop Installation Made Easy
Embarking on a DIY kitchen countertop installation may seem daunting at first, but embracing the challenge can turn your kitchen into a functional and stylish space. Whether you’re looking to refresh your home’s decor or simply upgrade your kitchen’s functionality, installing new countertops is an excellent way to achieve that. Here's how to do it right!
Why Countertops Matter in Kitchen Design
Kitchen countertops are often the focal point of the kitchen; they draw the eye and serve as a multi-functional work area. The right choice can elevate the overall aesthetic while balancing budget and function. Imagine the reactions of friends and family when they see a beautifully installed countertop that complements your kitchen's design!
Tools and Materials: What You Need for Success
Preparation is key to any successful DIY endeavor. Ensure you have the right tools and materials before diving in. This project typically requires:
- Leveling tools (2-ft. or 4-ft. levels)
- Caulk gun
- Drill
- Framing or drywall square
- Saws (track saw, circular saw, jigsaw)
- Painter’s tape and rags
- Countertops – wood or laminate
- Caulk and screws
Having these items on hand can simplify the process, prevent last-minute trips to the hardware store, and keep your project running smoothly.
Step-by-Step Guide to Countertop Installation
1. **Check Cabinets for Level**: Ensure your cabinets provide a level base for the countertops. Unlevel cabinets can lead to unsightly gaps or uneven surfaces that compromise both the beauty and functionality of your kitchen.
2. **Dry Fit and Mark Countertops**: Lay the countertop sections on your cabinets to verify their fit. Measure and mark precise cut lines to accommodate wall imperfections, ensuring a seamless appearance.
3. **Make the Cuts**: Using a saw suited to your material, carefully execute your cut lines. Remember, precision is key. Checking multiple times before cutting can save you from costly mistakes.
4. **Install the Countertops**: Secure the countertops onto the cabinets with screws and caulk. This step is critical to maintain stability and prevent movement.
5. **Finishing Touches**: Fill any gaps with caulk for a polished look. This not only enhances aesthetics but also ensures cleanliness and durability against spills.
DIY Home Renovation: Budget-Friendly Choices
Focusing on budget-friendly DIY home projects is vital for many homeowners. Choosing laminate or modular wood countertops typically offers a stunning look without breaking the bank. Products can be found at varying price points, which allows for customization according to your budget.
Common Misconceptions About DIY Countertop Projects
Many believe that counter installation requires professional skills or expensive tools. This couldn’t be further from the truth! With the right preparation and guidance, most homeowners possess the ability to successfully install their own countertops.
Future Trends in Kitchen Countertops
Looking ahead, sustainability is becoming a significant factor in home renovations. More consumers are opting for eco-friendly materials and methods that not only enhance aesthetics but also reduce environmental impact. This shift offers endless possibilities for future DIY home decor projects.
In conclusion, taking on a DIY kitchen countertop installation is more than just a project – it’s a chance to transform your kitchen into a personal haven. By planning strategically, equipping yourself with the right tools, and embracing a mindset of creativity, you can achieve a beautiful kitchen that reflects your unique style and satisfies all functional requirements. Ready to bring your kitchen to life? Consider diving into this rewarding DIY endeavor today!
 Add Row
  Add
Add 


Write A Comment