 Add Row
  Add
Add 


Facing the Challenge: A DIY Journey Through Dryer Ductwork Installation
Recently, I had plans to dive into a cabinet-building project, but the realities of home improvement had other ideas. Instead of crafting beautiful wooden fixtures, I ended up tackling the intimidating yet critical task of installing new dryer ductwork in my wall. While it may sound trivial, this essential step paves the way for my dryer to become operational, and it’s a journey filled with both challenges and learning opportunities.
Understanding the Importance of Proper Ventilation
Dryer duct installation might seem like a mundane task, yet it has serious implications on efficiency and safety. Properly installed ductwork facilitates better air circulation, ultimately improving the drying process for clothes. Lint buildup in poorly ventilated ducts isn't just an inconvenience; it's a fire hazard. According to safety experts, utilizing rigid metal ducts is paramount as they significantly reduce lint accumulation compared to flexible hoses, which can easily crush and block airflow.
Navigating My DIY Fears and Challenges
The installation process left me feeling anxious and intimidated, mainly due to the significant task of drilling a 4-inch hole through my home’s exterior wall, potentially damaging it in the process. After mustering up the courage, I employed a long drill bit for guidance, which helped me commit to the initial pilot hole. With the right focus, I managed to create a precise hole without hitting any critical bolts, which is a victory in itself!
Advice and Insights from the Pros
Learning from professionals like those from Angi and insights from skilled DIY enthusiasts, I decided to install a rigid metal duct. This decision promotes safety and efficiency in my laundry tasks. The step-by-step guides available emphasize the significance of planning the duct’s path to minimize turns and ensure effective ventilation; I wish I had read them sooner!
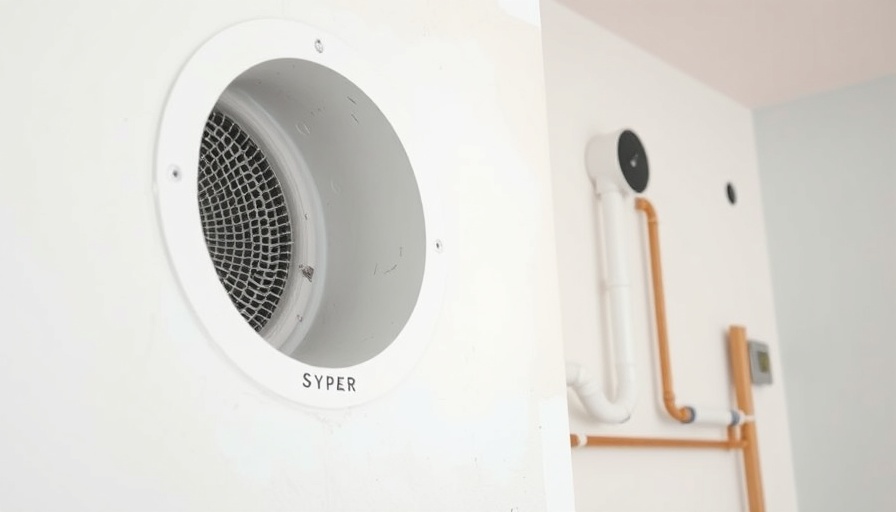
Connecting the Dots: The Vent Cap
Once the duct was in place, I turned my attention to the all-important vent cap. I followed the best practices shared by Family Handyman, ensuring that the duct was securely connected. An often-overlooked part of this project is sealing the edges carefully using quality caulk, which ultimately prevents any moisture infiltration. It’s a simple step that can spare you costly repairs in the future.
Small Projects with Big Impact on Home Efficiency
This project might have started as a simple DIY chore, but it reinforced the significance of taking small steps towards home improvements. Enhancing home efficiency doesn't always involve massive renovations; sometimes, it’s about ensuring all components work in harmony. And while my vent may not be positioned in the most aesthetically pleasing spot, I’m committed to disguising it with foliage – aesthetics can always be addressed later!
Conclusion: Lessons Learned and Next Steps
After successfully installing my dryer ductwork, I feel a sense of accomplishment that I didn’t anticipate. While the initial fear lurked, the empowering experience reminded me that tackling challenges at home can lead to overwhelming satisfaction. If you’re contemplating a similar project, I encourage you to embrace the journey. With the right tools, a clear plan, and perhaps a bit of guidance from a knowledgeable source, you can transform your DIY dreams into reality!
So next time you feel daunted by a home installation project, remember: it might just be the update you needed.


Write A Comment