 Add Row
  Add
Add 


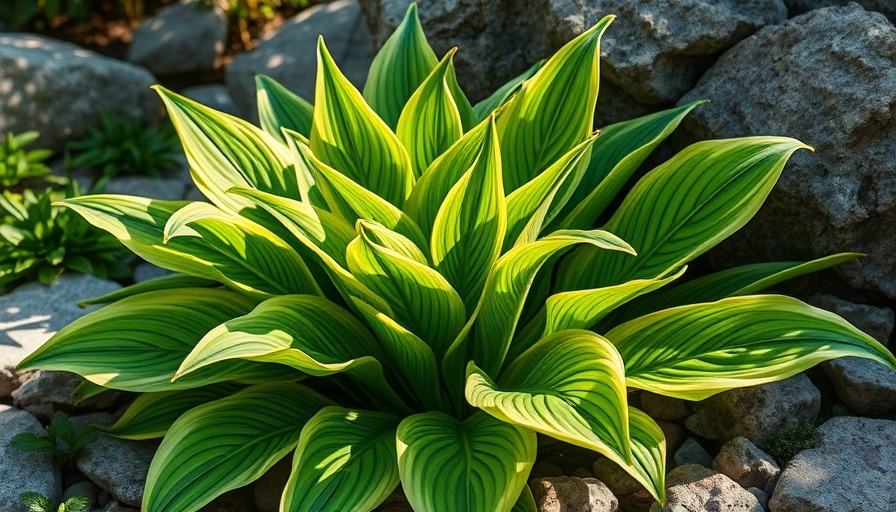
Mastering Hostas: A Gardener's Guide to Transplanting
Transplanting hostas can seem daunting, but with a little preparation and care, any gardener can enhance their landscape with these vibrant perennials. Renowned for their lush foliage and stunning variety, hostas flourish in shady spots, making them an essential choice for backyard landscaping. For gardeners eager to relocate their hostas, follow these essential guidelines and watch your plants thrive.
Understanding the Right Moment: Partnering with Nature
Spring is the ideal time to transplant hostas. During this season, pointed shoots emerge, signaling the end of winter dormancy and allowing gardeners to locate clumps easily. By working when the foliage is minimal, you reduce the likelihood of damaging the leaves, which could invite pests or diseases. However, for those unable to transplant in spring, hostas can still be moved in the growing season or early fall. Just be mindful that fully-leafed hostas take longer to recover, and roots may not completely settle before frost arrives.
Preparation is Key: Create a Welcoming Environment
Prior to transplanting, take a moment to prepare their new home. Choose a location that provides full to dappled shade—where hostas thrive best—and ensure the soil is rich and well-draining. Aim for a pH between 6.5 and 7.5. Preparing the new site by cultivating the soil 12 to 14 inches deep and clearing away stones will facilitate a smooth transition. Remember, the less time the plants spend out of their environment, the better they will adapt to their new surroundings.
Work Smart: Tips to Make the Process Easier
Hostas can be heavy, so using the right tools is essential. Avoid watering the plants before moving them to prevent excess weight and potential damage. If recent rain has soaked the ground, postpone the operation until the soil dries out. Use a long-handled shovel for leverage and reserve smaller tools for dividing the plants as necessary. Working early in the day can also help avoid fatigue before the sun hangs high.
Striking a Balance: Transitioning and Nourishing
After you’ve relocated your hostas, it's important to dig a hole about twice the width of the clump. Once in place, water thoroughly but moderately—too much can lead to root rot. Applying mulch can retain moisture and suppress weeds, allowing the plants to focus on establishing themselves in their new location. Regularly monitor the soil's moisture and consider using organic fertilizers to boost recovery and growth.
The Bright Side: Unique Benefits of Hostas in Landscaping
Beyond aesthetics, hostas serve invaluable roles in your garden. Their large, lush leaves provide shade for tender plants beneath, while diverse species contribute to your garden's biodiversity by attracting pollinators like bees and butterflies. Thus, adding hostas not only enhances visual appeal but also supports a healthy ecosystem.
Inspirational Gardening Projects: Expand Your Green Thumb!
For those who appreciate the charm of horticulture, consider embarking on a gardening project that incorporates hostas and other shade-loving plants. Mixing hostas with fern varieties or other perennials can create a stunning visual display while ensuring a thriving, diverse ecosystem. Adding paths using decorative stones or wood chips can tie these elements together beautifully while increasing accessibility and functionality in your yard.
Final Thoughts: Embrace the Beauty of Hostas!
Transplanting hostas is an opportunity for growth—not just for the plants but for gardeners, too. As you engage with this simple yet rewarding process, remember to embrace the learning curve, and enjoy the remarkable impact hostas have on your garden design. So grab your gardening tools, envision the possibilities, and let your backyard thrive!


Write A Comment