Unlock the Joy of Drying Your Homegrown Herbs
Growing your own herbs can bring a delightful flavor into your kitchen and wellness routines. However, when those warm months fade and the temperatures drop, preserving your herb bounty becomes essential for year-round enjoyment. In this article, we will take a journey through effective herb harvesting and drying techniques, providing you with insights into maintaining the quality of your fresh flavors long after the season has ended.
Mastering the Art of Herb Harvesting
Before diving into drying techniques, it's crucial to understand how to properly harvest herbs to preserve their potent flavors and aromatic oils. Harvesting at the right time is the key. Aim for early morning when the dew has dried and before the heat of the day hits. This ensures the essential oils are at their highest concentration. Remember, the best time to cut herbs is just before they bloom; pinching back excess flowers can also help promote more leaf growth.
Steps for Preparing Herbs After Harvesting
Once you've harvested your herbs, preparation is essential. Avoid washing them right after cutting, as this can introduce moisture that leads to mold growth. Instead, opt for organic herbs that are free from pesticides, ensuring what's in your kitchen is not only delicious but also safe for consumption. Use clean scissors or pruners to cut the stems just above the leaf nodes, encouraging bushier growth.
Effective Techniques for Drying Fresh Herbs
There are various methods to dry your herbs, each with its unique benefits. Here are four popular techniques:
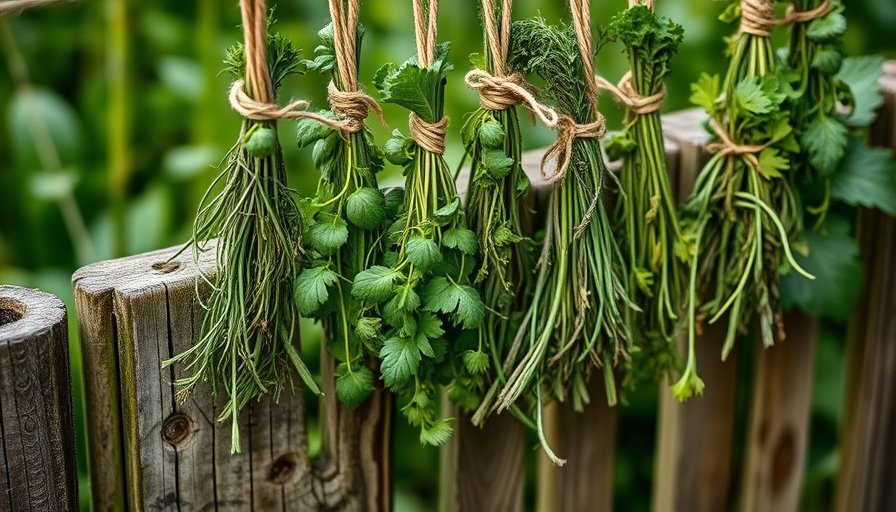
- Hang Dried Method: Bundle your herbs and hang them upside down in a dark, dry area with good air circulation. This method preserves their flavor and aroma effectively.
- Air Drying: Lay your herbs flat on a drying rack or mesh screen in a well-ventilated area. This method takes longer but is natural and straightforward.
- Dehydrator: Invest in a food dehydrator for a faster drying process. This method retains flavor well and is less affected by environmental factors.
- Oven Drying: For those in a hurry, low-temperature oven drying can be efficient. Set your oven at a low temperature (around 180°F) and check regularly to avoid cooking.
Storing Your Dried Herbs Like a Pro
Proper storage of dried herbs is critical to maintaining their flavors. Use airtight containers, glass jars, or vacuum-sealed bags to keep moisture and light out. Store your herbs in a cool, dark place to extend their shelf life. Remember, light and heat can degrade their quality over time, so get creative with your storage! Opt for decorative jars that add charm to your kitchen.
The Best Herbs for Drying: A Salute to Flavor
Not all herbs are created equal when it comes to drying. Some retain their flavors beautifully, while others might lose potency. Here are some of the best herbs for drying:
- Thyme
- Oregano
- Sage
- Mint
- Rosemary
- Basil
- Chamomile
Including these herbs in your garden ensures you have a variety of flavors to dry and enjoy throughout the year.
Planning Ahead: Common Misinterpretations about Drying
Many novice gardeners might believe that every herb can be dried the same way or that they can dry herbs after washing them. Understanding each herb's unique characteristics and respecting their need for minimal water is essential. Moreover, know that some herbs, like parsley or cilantro, are better used fresh, as they can lose their characteristic flavors when dried. Get to know your herbs, and you'll make smarter gardening and usage decisions!
Inspiring Quotes to Delight Your Green Thumb
"To plant a garden is to believe in tomorrow." This beautiful sentiment reminds us that gardening isn't just about the present; it's a dedication to the future. You grow your herbs today to flavor not just your meals, but memories to come.
The Time to Get Started is Now!
If you have an abundance of herbs, don’t let them go to waste! Embrace these tips and techniques to dry and store your treasures, extending your harvest long into colder months. By preserving your herbs, you're ensuring that your culinary creativity doesn't have to wait for the next growing season.
 Add Row
  Add
Add 


Write A Comment