 Add Row
  Add
Add 


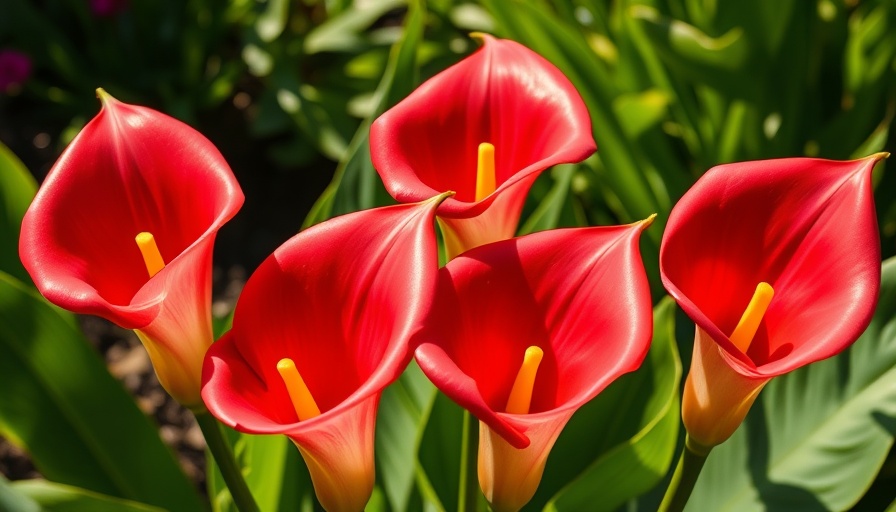
Unleashing the Beauty of Calla Lilies in Your Garden
If you’ve ever gazed in admiration at the elegant curves of calla lilies, you’re not alone. These stunning flowers not only add beauty to any garden space but are also surprisingly easy to propagate. For garden lovers, understanding how to cultivate more of these striking blooms can turn your desire into a rewarding project.
Understanding Propagation Methods: Seed or Division?
When it comes to propagation, calla lilies (scientific name: Zantedeschia) offer two primary routes: growing from seeds or dividing existing rhizomes. While rhizome division is often the preferred method due to its quicker results, seed propagation is a viable option for those willing to put in time and patience. Keep in mind that while seeds can sprout new plants, it may take up to three years before you witness the blooms.
Seed Propagation: A Step-By-Step Guide
Growing callas from seeds requires diligence and timing. To begin:
- Harvest Seeds: Seeds are harvested in late summer to autumn. Look for thick pods that are yellow and soft to the touch.
- Storage: Allow harvested pods to dry and brown in a paper bag, then store seeds in a cool, dark location until spring.
- Planting: Prepare nursery flats with moistened starter soil, scatter seeds 1-2 inches apart, and cover them lightly. Keep them warm (70 to 80°F) and consistently watered until seedlings appear.
- Transplanting: Once seedlings develop 2-3 leaves, transplant the healthiest ones into individual pots and care for them until ready for outdoor planting.
This process not only enhances your garden but also provides an opportunity to witness the growth cycle of calla lilies firsthand.
Division: The Key to Thriving Plants
For those with established callas, dividing the rhizomes every three to five years ensures vibrant blooms. Here's how to safely divide rhizomes:
- Timing: The best time to divide rhizomes is in the fall when leaves begin to brown.
- Preparation: Using a spade or garden fork, carefully loosen the soil around the rhizome clump, typically digging down about 12 inches.
- Divide: After removing the clump, trim any long roots and cut the rhizomes to ensure each section has at least one eye.
- Care: Treat the cut surfaces with a natural fungicide to prevent disease and discard any unhealthy sections.
This approach to division not only rejuvenates your existing plants but also allows you to share the beauty of callas with friends and family.
Tips for Optimal Calla Lily Care
In addition to propagation, maintaining the health of your calla lilies is crucial. Here are some gardening tips:
- Watering: Ensure consistent soil moisture but avoid oversaturation to prevent root rot.
- Sunlight: Callas prefer bright, indirect sunlight, particularly during their growth phase. Protect them from harsh afternoon rays.
- Feeding: Utilize organic fertilizers for balanced nutrition, promoting healthy growth and vibrant blooms.
With these practical insights, gardeners can maximize their calla lily success, creating a flourishing and colorful garden that enchants throughout the growing seasons.
Embracing Gardening for Health and Well-being
Engaging in gardening offers numerous benefits beyond aesthetic value, contributing positively to mental health and physical well-being. The act of nurturing plants can reduce stress, improve mood, and even provide gentle exercise. Taking the time to create a space filled with the beauty of calla lilies not only elevates your garden aesthetics but nurtures your soul.
Conclusion: Make Gardening a Rewarding Journey
So, whether you choose to propagate your calla lilies from seeds or through division, know that this journey can be fulfilling and restorative. Get your hands in the soil, experience the joy of plant care, and transform your garden into a stunning reflection of your green thumb.


Write A Comment